A few weeks ago I bought myself a new Dell XPS-13 and decided for the n-th time to go all-in Linux, that is to have Linux as the main and only laptop OS. Since most of my Linux experience is with Fedora-family distros, I quickly installed Fedora-25 and embarked on a long and painful journey of getting out of my Windows comfort zone and re-establishing it in Linux. One of the most important aspects for me, as a network engineer, is to have a streamlined process of accessing network devices. In Windows I was using MTPutty and it helped define my expectations of an ideal SSH session manager:
- I want a multi-tab terminal with the ability to switch between tabs quickly - default (GNOME) terminal does that out-of-the box with no extra modifications
- I want to login the device without having to enter a password - Not available by default but is possible with some dirty
expecthacks. - I want my SSH sessions to be organised in a hierarchical manner with groups representing various administrative domains - customer A, local VMs, lab.
Although GNOME terminal looked like a very good option, it didn’t meet all of my requirements. I briefly looked and PAC Manager and GNOME Connection Manager but quickly dismissed them due to their ugliness and clunkiness. Ideally I wanted to keep using GNOME terminal as the main terminal emulator, without having to configure and rely on other 3rd party apps. I also didn’t want to wrap my SSH session in expect as I didn’t want my password to be pasted in my screen every time I cat a file containing the trigger keyword Password:. I’ve finally managed to make everything work inside the native GNOME terminal and this post is a documentation of my approach.
1. Install ssh-copy-net
I’ve written a little tool that uses Netmiko to install (and remove) public SSH keys onto network devices. Assuming python-pip is already installed here’s what’s required to download and install ssh-copy-net:
$ pip install git+https://github.com/networkop/ssh-copy-net.git
Its functionality mimics the one of ssh-copy-id, so the next step is always to upload the public key to the device:
$ ssh-copy-net 10.6.142.1 juniper
Username: admin
Password:
All Done!
2. Define SSH config for network devices
OpenSSH client config file provides a nice way of managing user’s SSH sessions. Configuration file allows you to define per-host SSH settings including username, port forwarding options, key checking flags etc. In my case all what I had to do was define IP addresses of my network devices:
Host srx
  HostName 10.6.142.1

Host arista
  HostName 10.6.142.2
Now I am able to login the device by simply typing its name:
$ ssh arista
Last login: Sun May  7 10:57:30 2017 from 10.1.2.3
arista-1>
3. Define zsh aliases
The final step is session organisations. For that I’ve decided to use zsh aliases and have device groups encoded in the alias name, separated by dashes. For example, if my SRX device was in the lab and Arista was in Site-51 of Customer-A this is how I would write my aliases:
alias lab-srx='ssh srx'
alias customer-a-site-51-arista='ssh arista'
4. Multi-pane sessions with tmux
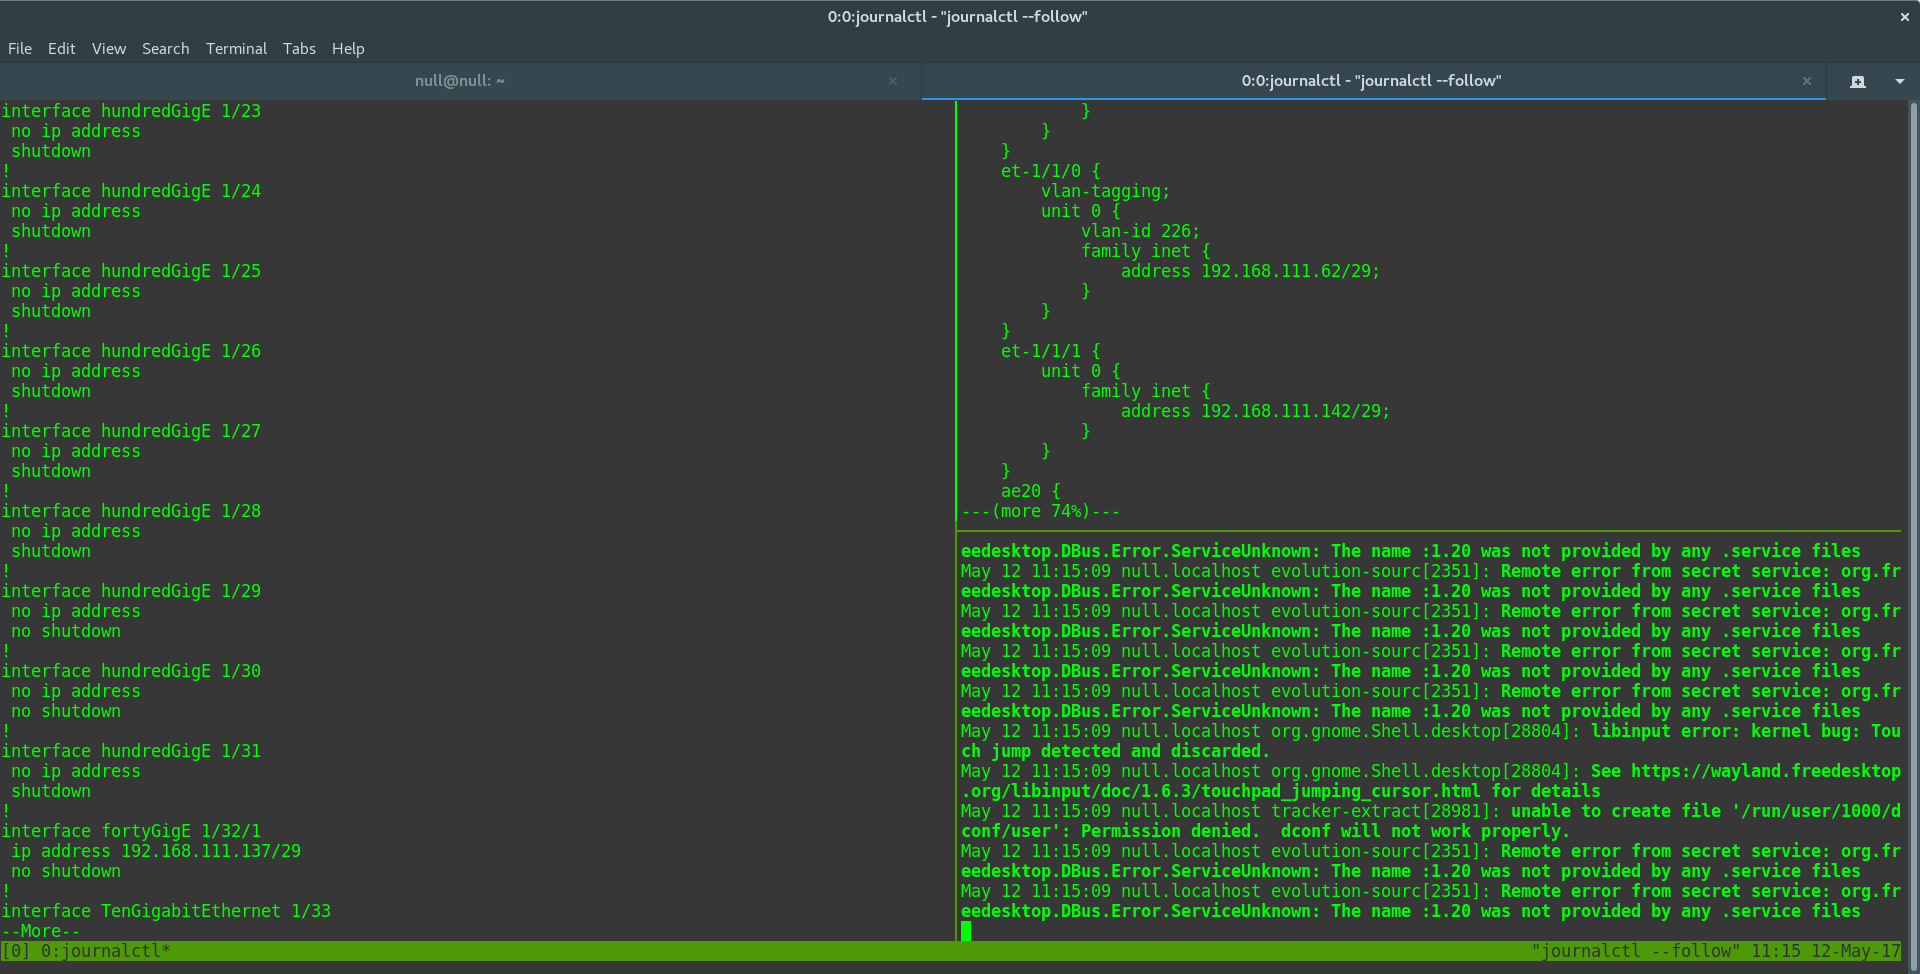
As a network engineer, I often find myself troubleshooting issues spanning multiple devices, which is why I need multiple tabs inside a single terminal window. Simply pressing Ctrl+T in GNOME terminal opens a new tab and I can switch between tabs using Alt+[1-9]. However what would be really nice is to have a couple of tabs opened side by side so that I can see the logs and compare output on a number of devices at the same time. This is where tmux comes in. It can do much more than this, but I simply use it to have multiple panes inside the same terminal tab:
Here’s an example of my tmux configuration file:
# Automatically set window title
set-window-option -g automatic-rename on
set-option -g set-titles on

# Use Alt-arrow keys without prefix key to switch panes
bind -n M-Left select-pane -L
bind -n M-Right select-pane -R
bind -n M-Up select-pane -U
bind -n M-Down select-pane -D

# Pane splitting keys
bind-key v split-window -h
bind-key s split-window -v

# New key-binding to reset hung SSH sessions
bind-key k respawn-pane -k

# Easy fix for arrow keys inside ssh
set -g default-terminal "xterm"

# Enable mouse mode (tmux 2.1 and above)
set -g mouse on

# Reload tmux config
bind r source-file ~/.tmux.conf

# No delay for escape key press
set -sg escape-time 0
Demo
Now having all the above defined and with the help of zsh command autocompletion, I can login the device with just a few keypresses (shown in square brackets below):
$ lab  [TAB]
$ lab-  [TAB]
lab-srx
$ lab-  [s][TAB]
$ lab-srx  [ENTER]
--- JUNOS 12.3X48-D30.7 built 2016-04-28 22:37:34 UTC
{primary:node0}
null@srx>
Press Ctrl+B v to split the terminal window vertically:
$ customer [TAB]
$ customer- [TAB]
customer-a-site-51-arista
$ customer- [a][TAB]
$ customer-a-arista [ENTER]
Last login: Thu May 11 15:28:03 2017 from 10.1.2.3
arista-1>
An so on and so forth…